35mm slide projector lenses

It turns out lenses from 35mm slide projectors make great camera lenses! On this page I'll talk about how I adapt these lenses to fit a modern mirrorless digital camera (in my case a Sony A7 II, but any interchangeable lens camera for which you can get an adapter for M42 lenses will work). This method should work for most standard 35mm slide projector lenses with a focal length of 85mm and an aperture of f/2.8 from a full size 35mm slide projector, but of course they come in a variety of sizes, so check out the pages for individual lenses to see the methods and adapters I used for each one.
Ingredients
-
A lens from a 35mm slide projector.
 Look for a lens from a fairly modern (probably 1970s or 80s) full-size consumer 35mm slide projector with a focal length of 85mm and an aperture of f/2.8. Here I have used an Isco-Göttingen Gnome-Projar 85mm f/2.8 which is a typical example of the species. You can find these slide projector lenses easily on eBay. If you're on a limited budget, avoid lenses from famous high-end brands like Leitz, Rollei and Zeiss Ikon. I would also avoid lenses made for Kodak Carousel projectors as they are much bigger then most projector lenses. (But if you have one of these lenses, take a look at the Kodak Schneider-Kreuznach Carousel Procolar 100mm page for more information.) The technique I describe on this page will work with the great majority of lenses that answer this description, but bare in mind that slide projector lenses do come in a wide variety of sizes… checkout the pages on the various slide projector lenses I have tried on this page for details of how I adapted them.
 -
A focusing helicoid designed to mount an M52 screw mount lens on an M42 screw mount SLR camera with a extension range of 36-90mm.
 Note that is not a typo: M42 is a common lens mount for vintage SLR lenses, but I've never seen an M52 lens! But this is never-the-less the best size for standard 35mm slide projector lenses. You can find these helicoids on Amazon or eBay
 -
An adapter to mount M42 lenses on your camera.
 These are available for pretty much every mirrorless camera (and some DLSRs too), and can be found cheaply on either Amazon or eBay. If you're prepared to order direct from a small independant manufacturer in China expect to pay £8-10 (the least I've paid is £5!). But if you go down this route, patience is required! Expect it to take several weeks (or even months) to arrive. If you order from a U.K. supplier expect to pay more (£13-25). You can find these adapters on Amazon or eBay
 My experience is that most 85mm f/2.8 lenses will focus to infinity using one of these standard adapters, but some won't. If you can't focus to infinity you can overcome this by using an 'ultra-slim' M42 adapter specially designed to mount focusing helicoids on a mirrorless camera. As with normal adapters, you can find these adapters on Amazon or eBay. I've paid as little as £3 by ordering direct from China. Given that these adapters are cheap I highly recommend getting both types… then you're ready for most eventualities.
 -
Ordinary masking tape.
Pretty much any sticky tape you have lying around will do, but I would recommend Scotch 3M 101E masking tape available on Amazon. It has a very slightly spongy texture and a rough texture which will help the lens fit snugly in the focusing helicoid. Plus it can easily be removed should you need to.
-
Black Tack (optional).
This is optional, but it will help your lens sit more firmly in the focusing tube. Black Tack is available on Amazon. Black Tack is stickier and a more discrete colour, but normal Blu Tack can be used instead.
-
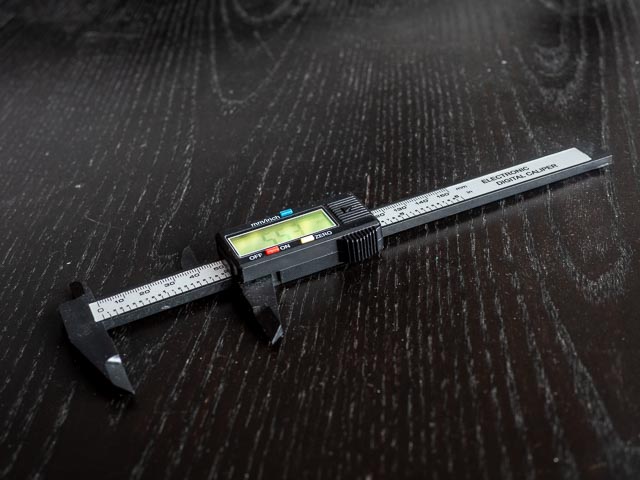
Electronic digital calliper (optional).
 This is another item you can easily do without, but it does make things slightly easier when you're building your lens. These things don't have to be expensive (mine cost £7) and they can be very useful when dealing with projector lenses as they make it easy to measure the diameter of the lens with the masking tape around it.
Method
-
 Start by winding masking tape around the barrel of your lens until it is wide enough to fit snuggly in the focusing helicoid. I find a diameter of around 50.4 or 50.5mm works well. This is where the digital calliper mentioned above comes in really handy. But if you don't have one you can easily just add and remove layers of tape until you get a snug fit. Make sure the tape is as near to the wide bit at the front of the lens as possible. Optionally, you can also add some black tack under the wide bit of the lens to ensure the lens stays better in place (which you can just about see in this photograph).
  Then it's just a matter of firmly pushing your projector lens into the wide (M52) end of the focusing helicoid and screwing the narrow (M42) end into the M42 to Sony E mount adapter, and your lens is complete! Here is the finished lens mounted on a Sony A7 MkII camera.
Using your lens
- Many cameras (including Sony and Fujifilm) will not shoot without a lens attached. And because your adapted lens has no electronic contacts your camera will not know that it does indeed have a lens attached. Fortunately most cameras that need to have a lens attached to shoot have a setting buried somewhere in their menus to enable shotting without a lens attached. See General notes on using adapted lenses for more information.
- Set your camera to A (i.e. aperture priority) or P (program) on the mode dial and let your camera worry about shutter speed. Remember that projector lenses don't have an aperture diaphragm, so you're always shooting wide open for gorgeous shallow depth-of-field (or "bokeh") effects all the time. All you have to do is focus and shoot.
- You can use your camera's manual focusing aids (like viewfinder magnification or focus peaking) to help with focussing, just like with any other manual focus lens.
Examples
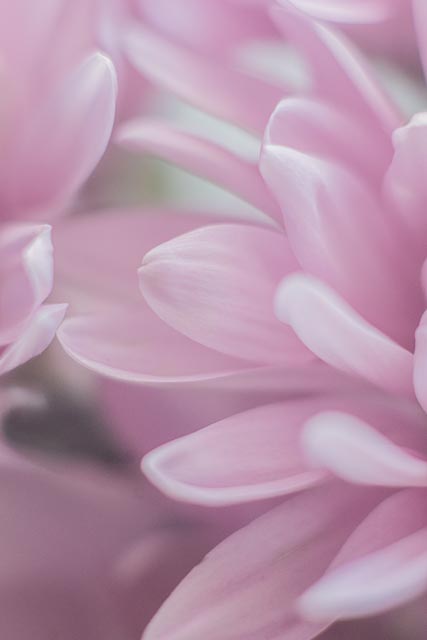
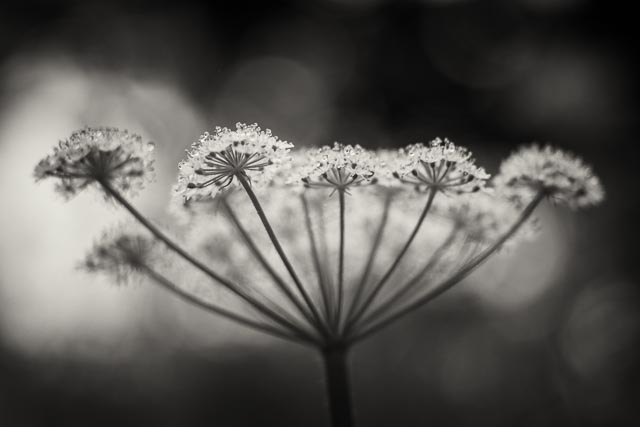
So what kind of photographs can you take with a projector lens? Check out the individual pages (Top of page ↑) for extensive samples from all the lenses I've written about so far, but here are a few whet your appetite!

Isco-Göttingen Gnome-Projar 85mm f/2.8

Leitz Colorplan 90mm f/2.5

Will-Wetzlar Maginon 85mm f/2.8

Enna München MC Ennalyt 90mm f/2.5


