Isco-Optic Ultra-Star HD 90mm f/2 MC

Isco-Optic Ultra-Star HD 90mm f/2 MC lens unmounted with box

Isco-Optic Ultra-Star HD 90mm f/2 MC adapted and ready to use on Sony E mount

Isco-Optic Ultra-Star HD 90mm f/2 MC mounted on a Sony A7 II camera
If you just want to see some photographs, just skip straight to the examples section.
This beautiful golden beast of a lens is a German-made Isco-Optic Ultra-Star HD 90mm f/2 MC from a commercial 35mm cinema projector such as you would have found in cinemas in towns and cities across Europe in the 1980s. And it is capable of gorgeous results, with some caveats which I will discuss later. But one thing is for sure, with this thing on the front of your camera no-one is going to acuse you of discretion!!
Lenses like this can be very expensive… you often see them being advertised for several hundred pounds on eBay, not least because they sometimes have a large imaging circle that makes them suitable for adaption to medium format digital cameras. But with patience (and some luck) you can find them for reasonable money… I paid about £70 for this example.
Here is a complete list of everything I used to adapt this lens.
-
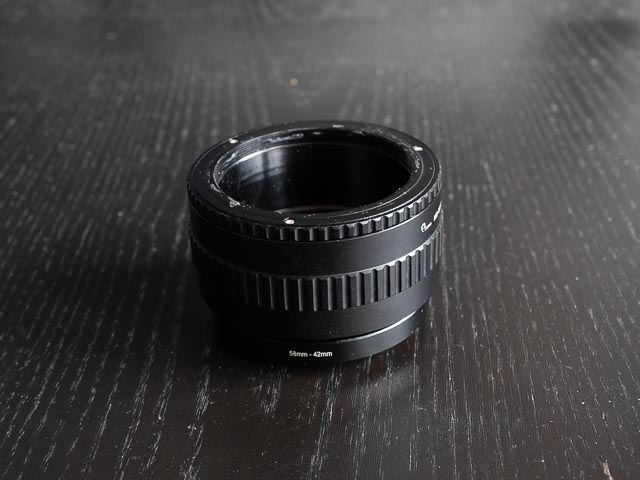 A focusing helicoid designed to mount an M58 screw mount lens on an M58 screw mount camera with a extension range of 36-90mm.
 -
M42 to M58 step-up ring
Look on Amazon or eBay. My M42-M58 step-up ring is now permanently stuck to my M58 focussing helicoid, which is why they are pictured together here!
-
 Standard M42 to Sony E adapter.
 -
Ordinary masking tape.
Pretty much any sticky tape you have lying around will do, but I would recommend Scotch 3M 101E masking tape available on Amazon. It has a very slightly spongy texture and a rough texture which will help the lens fit snugly in the focusing helicoid. Plus it can easily be removed should you need to.
Method
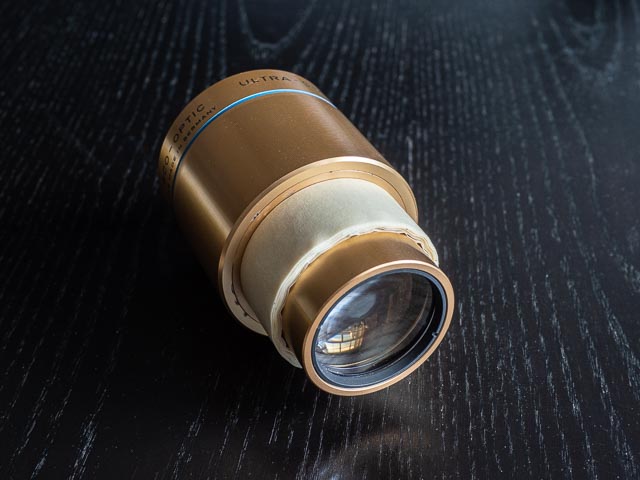 This lens proved fairly easy to adapt, despite it's size. Because of it's stepped barrel no clamps were needed to secure it to the focussing helicoid. I simply wound enough masking tape around the lens to ensure a tight fit in the M58 focussing helicoid, as illustrated here. I was able to get a tight enough fit to not require the use of Black Tack to fix the lens in place. I then just pushed the lens into the lens end of the helicoid and screwed the M42 to Sony E adapter onto the camera end of the helicoid, et voila, the lens was complete!
Notes on using your adapted projector lens
Using my M58 to M58 36-90mm focussing helicoid this lens is able to focus all the way from infinity down to a half-life size reproduction ratio with ease. The results were beautifully sharp at the point of focus, quickly fading away to beautiful creamy smooth bokeh, regardless of the focussing distance. This makes this lens my best projector lens yet for gorgeous ultra-shallow depth-of-field close-ups.
Unlike projector lenses from 35mm slide projectors, this lens has a filter thread, a standard 67mm filter thread to be precise. I think this filter thread is really for an anamorphic attachement, but it worked fine with the one and only 67mm photographic filter I possess!
But despite how much I loved the results from this lens, there is a gotcha: Chromatic aberrations! In particular longitudinal chromatic aberrations or LoCA (or focus blur aberrations) which can be rather difficult to correct using the tools in Adobe Lightroom. Here is an example:
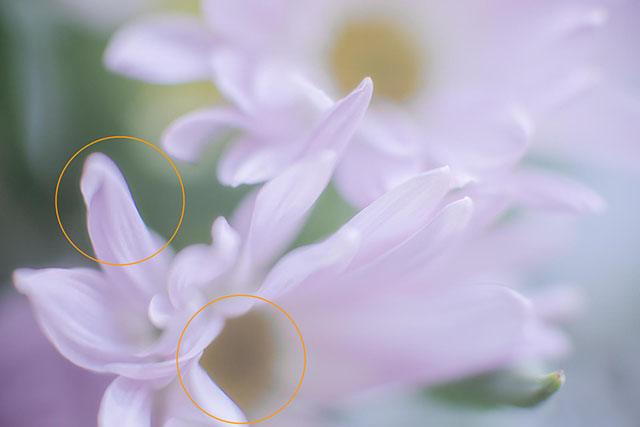
The LoCA isn't too obvious at first, but once you've seen it, you just can't un-see it!

LoCA can be improved, but often not completely removed, using Adobe Lightroom's built in tools. But even when you can't remove the LoCA, as was the case here, you can often salvage a usable image just be cropping out the LoCA.
It's also worth noting that there is some vignetting when this lens is used on a full-frame 35mm camera. It's mild and easily dealt with in Adobe Lightroom, but it does make me wonder if this lens would really make a good candidate for use on a medium format camera. If anyone would like to donate a Fujifilm GFX 100S for research purposes I would be happy to accept and report back 
 .
.
Examples
This first set of 8 images were all shot at home using a cheap bunch of super market flowers. They were processed in Adobe Lightroom with a variety of colour treatments mainly using different colour profiles in the 'basic' tool panel.






This next set of 4 images were again processed in Adobe Lightroom, but this time they were shot 'in the field'.




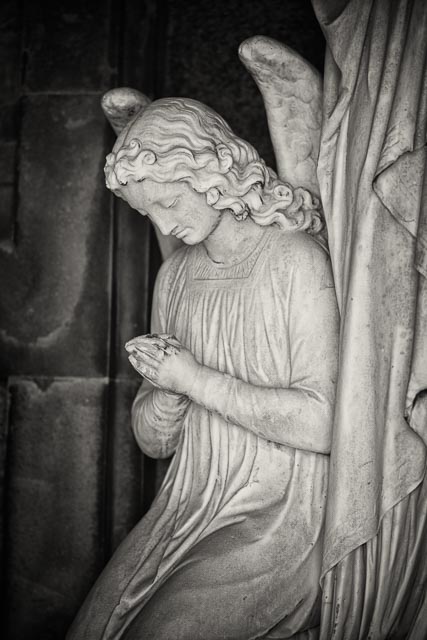
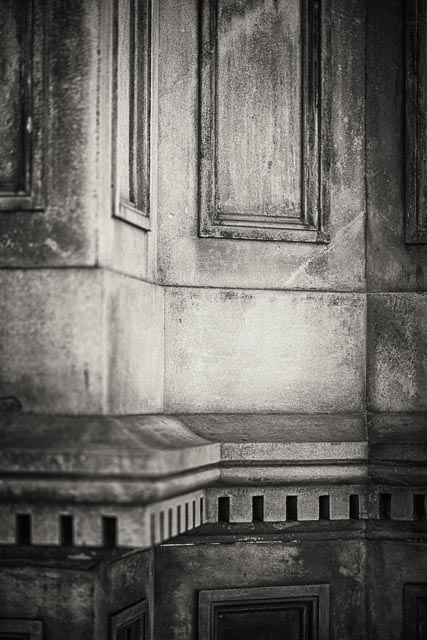
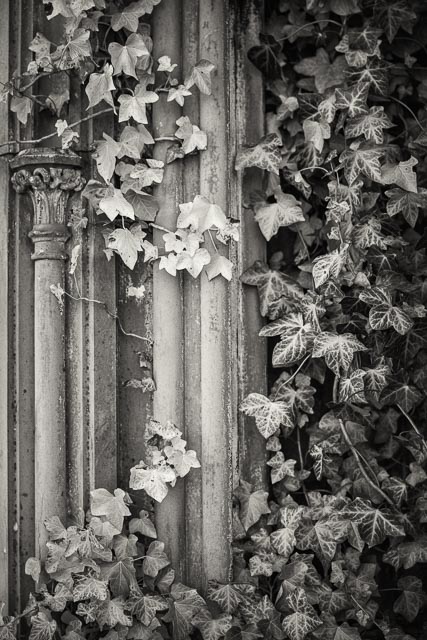
These black and white images were processed in Nik Silver Efex Pro 2 and give an idea of the results possible with this lens at more distant focussing distances.
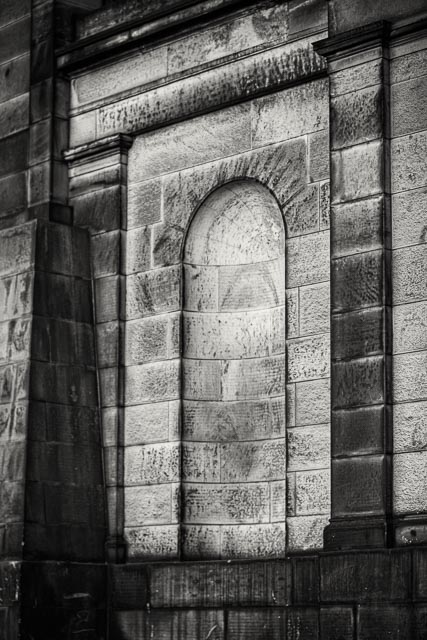
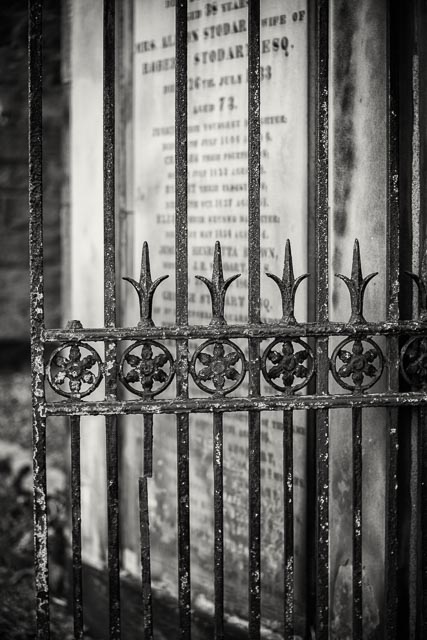


I find projector lenses of all kinds, including this Isco-Optic Ultra-Star lens, work particularly will for photographs of cemeteries. The first two of this set of images were shot at Calton Old Burial Ground in Edinburgh, with the remainder shot at Glasgow Necropolis.





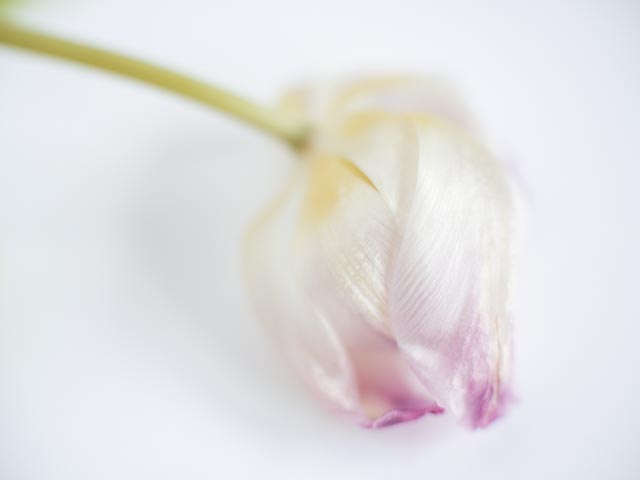
If I buy a bunch of flowers at the local supermarket for some flower photography, I'm really just waiting for them to die so I can get the photographs I really want! So these are the same flower from the photographs above about two weeks later.



Some more flower/plant photography, but this time of growing plants in a garden.
