Helios lensbaby

 Note that one of the items required for this project, the DIY tilt and shift bellows, are currently marked as out of stock on the website I got it from. If you just want to see some photographs from this lens experiment, jump to the sample photographs below.
The Helios 44 lens has become something of a cult object in vintage photography circles in recent years. The lens was made over a 40 year period with many different version, but my personal favourite is the early Helios 44-2 for a number of reasons, not least because it is very easy to modify in a variety of ways to produce unique results.
This project turns the Helios 44-2 lens into something a bit like the first generation Lensbaby (or the more recent Lensbaby Spark). A few years ago I had an early Lensbaby and I loved it. I really regretting selling it when I changed from one camera system to another. But as the Lensbaby brand became better known and they developed more complex products the prices as gone up sharply, even the relatively inexpensive Lensbaby Spark will set you back around £180. This project offered me the possibility of getting back into the tilt-shift aesthetic for less than £25 since I already had the required Helios 44-2 lens.
Ingredients
-
Helios 44-2 lens
 This project specifically requires the Helios 44-2 lens. The simple preset-aperture mechanism of this version of the lens makes this version particularly moddable. Earlier versions make also work, but I would suggest sticking with the 44-2. As these lenses have have increased in popularity, their prices have also increased. You sometimes see them on eBay with buy-it-now prices of £70-80. But if your patient then you can pick them up in auctions for much less. £30 is not unreasonable, and I managed to pick up this example in 2020 for £18 including post and packing.
 -
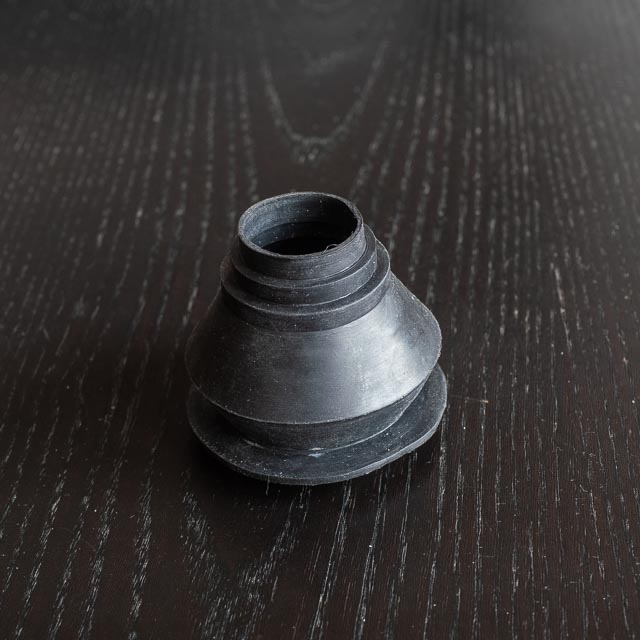
horaczko.com DIY tilt and shift bellows
 This product is made by a guy called Miroslaw Horaczko who runs an online shop called horaczko.com. I bought mine a couple of years ago for, I think, about £19 including post and packaging and it kinda got left at the back of a draw until I recently finally decided to build my Helios lensbaby! Unfortunately in the intervening time the price has gone up to £27 plus p&p and as of May 2022 it's marked as out of stock. You might wish to drop the guy an email to tell him your interested and express you hope then he will make a new batch soon!
 -
Slim M42 adapter
 This is the same type of special slim adapter is really designed to mount a focusing helical to your digital camera, but it works equally well for mounting the DIY tilt and shift bellows to your camera. You can get Slim M42 to Sony adapters (just modify my search terms once you get to eBay to find adapters for other cameras) on eBay for about £6.
 -
Superglue of somekind
I used Locktite Super Glue Power Gell which cost £3 on Amazon.
So my total spend, including the Helios 44-2 lens I already had, was about £46. But depending on how much you spend on the Helios 44-2 lens, and taking into account the increased price of the DIY tilt and shift bellows, your spend might be somewhere in the region of £58-78. Still quite a bit less than a Lensbaby Spark!
Method
-
Glue the slim M42 adapter to the wide end of the DIY tilt and shift bellows
 I glued the slim M42 adapter to the DIY tilt and shift bellows using Locktite super glue. (If you don't already have any super glue in the house you can get some on Amazon for about £3.)
 -
Split the Helios 44-2 lens into 2
 This is nowhere near as scarey as it sounds. The part of the Helios 44-2 lens that contains the lens elements can be simply unscrewed from the focusing helical. What's more you can screw your lens back together at any time, so you're doing no permanage damage to your lens! (Note that I found a loose silver metal ring between the two parts, make sure you don't loose this ring for when you screw your lens back together!)
 -
Fit the DIY tilt and shift bellows to the Helio 44-2 lens
 The narrow end of the lens element assembly needs to be fitted into the narrow end of the DIY tilt and shift bellows. It's a very snug fit and it isn't a particularly easy operation, but the snug fit is important as it means the lens element assembly is very unlikely to just fall out to the ground!
And that's all there is to it! None of this is permanent and you can dismantle your Helios lensbaby and scre the Helio 44-2 lens element assemble back into the focussing helical at any time.
Sample photographs
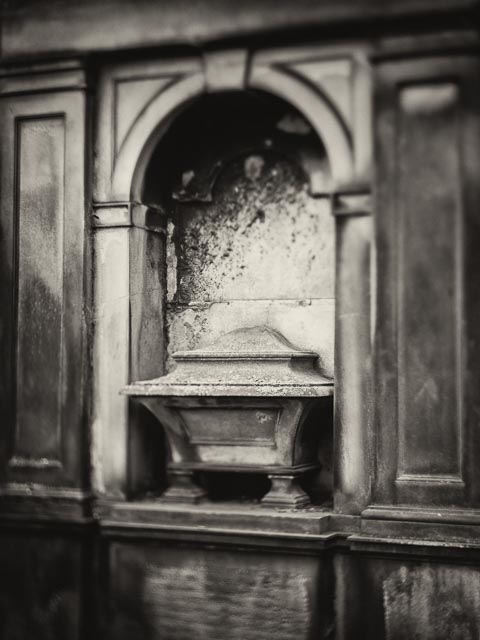
So what kind of results can you expect? I have to say I've had a lot of fun with my Helios lensbaby… see what you think!


These ones were processed in the Snapseed desktop application (no longer available :-( ).


And these black and white ones, shot in New Calton Burial Ground (one of my favourite haunts for shooting with vintage glass!), were processed in Sliver Efex Pro (as usual!).


More cemetery photographs, again processed using Sliver Efex Pro in a slightly different style. These ones were shot in Seafield Cemetery, one of Edinburgh's less well known cemeteries I visited for the first time May 2022.


