Freelensing

Ingredients
-
Any interchangeable lens camera.
DSLR or mirrorless, but mirrorless is the most versatile.
-
Any lens.
A classic manual focus SLR lens used with a mirrorless camera will offer the most flexibility, but you experiment with almost any lens.
Method
At the minimum, all you need to do is dismount your lens and hold it a little way from the lens mount. Move the lens nearer and further from the lens mount to achieve focus, and try tilting the lens to get a tilt-shift type effect.
You can start off by simply using the kit lens that came with your camera. You will need to set the lens to infinity and the aperture to its largest setting. Different cameras will have different ways of doing this (with some camera systems this will happen automatically when you dismount the lens). But using your normal lens will mean the lens is a further away from the sensor than it should be, so you won’t be able to focus on an object much more than 1 meter from your camera.
This technique really comes into its own when you use a classic manual focus SLR lens with a mirrorless camera. You will be able to easily make sure your lens is at infinity focus and wide open (or indeed experiment with other apertures). This combination allows you to focus to infinity as an SLR lens is normally further away from the sensor then a lens designed specifically for your mirrorless camera. You can also try using lenses that weren’t designed for a camera at all! In fact many of my favourite freelensing images have come from using a 35mm slide projector lens. You can find slide projector lenses easily on eBay. I found an Enna München MC Ennalyt 1:2.5/90mm on eBay that cost £10.
I also like using a variety of techniques to play with the colour on these images. These include using one of Adobe Lightroom's 'Artistic' or Modern' colour profiles, adjusting curves for individual colour channels and split toning
Examples
All these images were shot using a Sony A7 MkII camera.
Lens: Sony FE 50mm f/1.8
So this first example was shot using a normal, modern Sony FE mount lens, in this case the cheap 50mm f/1.8. As mentioned above, when using a mirrorless lens on a mirrorless camera you're unlikely to be able to focus to infinity, but close-up photography is a great way to start off with freelensing!
Because your lens will be maybe as much as 2cm away from your camera, a great deal of extraneous light will reach the sensor. This will reduce the contrast of your images to very low levels indeed. This isn't something to worry about though… this is part of what will give your images a very distinctive character. I use a variety of techniques to give these low contrast images the look I'm looking for in Lightroom and other applications, but here you can see the raw image with just an initial crop applied.
This low contrast looks very much like fog or haze, so in Lightroom the same tools you might use to deal with haze can be used with great effect on your freelensing images, in particular the dehaze slider.
I often set it far higher than I would with a normal photograph… sometimes +70 or even higher. On my Sony A7II this causes ugly horizontal bands of blue pixels. These can be dealt with using equally high levels of noise reduction. Normally this much noise reduction would look awful and completely destroy the sharpness of your image, but it seems to work quite well with freelensing images as we're not trying to create boring old conventionally sharp photos anyway! In this particular case the dehaze slider was set to +53.
Two more examples shot with the Sony FE 50mm f/1.8 lens.

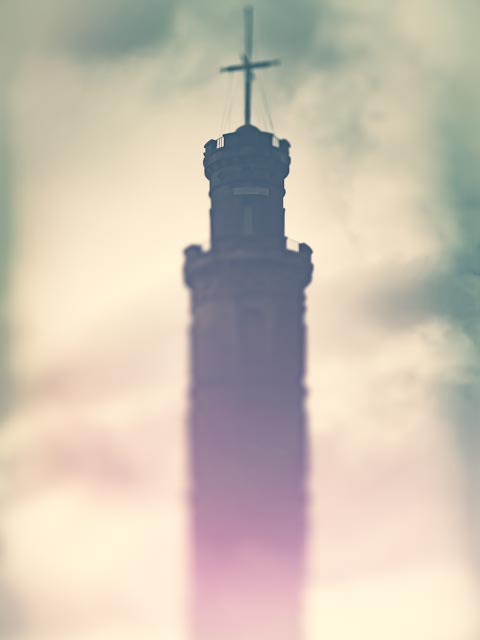
Lens: Leitz Colorplan 1:2.5/90mm slide projector lens
Some new images shot in March 2024 using a lens from a slide projector from the venerable Leitz company (responsible for Leica cameras). I used my favourite set of curves designed to mimic the look of cross processing, accompanied by the Adobe Lightroom Vintage 09 colour profile, and a fairly low level of dehaze (slider set to +15-20) for these shots, all taken on Calton Hill in Edinburgh.

Lens: Enna München MC Ennalyt 90mm f/2.5 slide projector lens
For this image I used a lens from a 35mm slide projector. I set the dehaze slider to +70 and used the Lightroom 'Artistic 07' colour profile to modify the colours further.

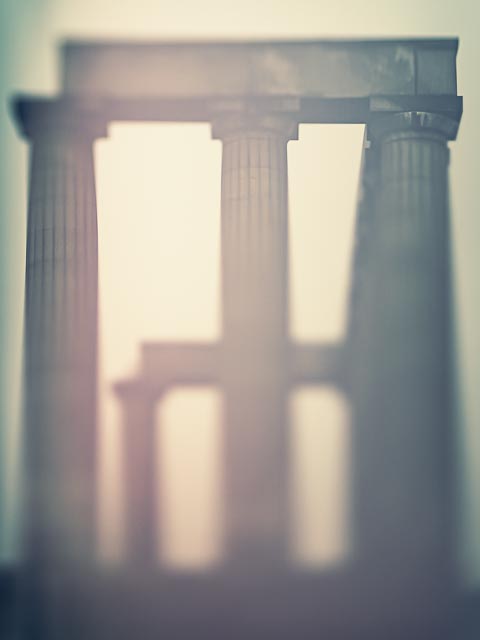
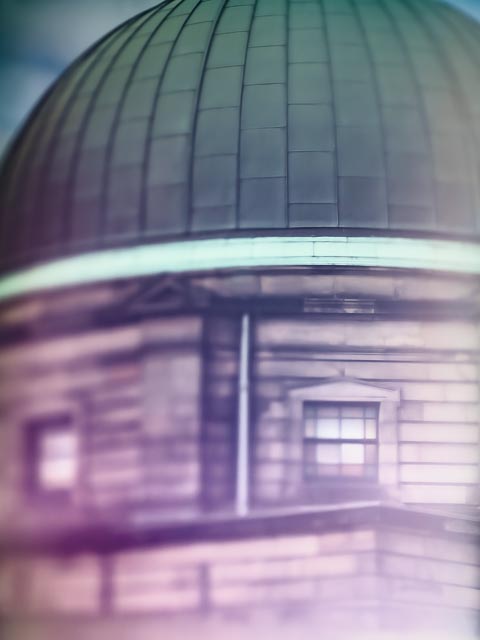
Lens: Enna München MC Ennalyt 90mm f/2.5 slide projector lens
I used much less dehaze on this one (+20). You can see I have also used a greater degree of tilt so the columns fade out more strongly towards the bottom of the image. For this one I used the Lightroom 'Vintage 07' colour profile for muted colour

Lens: Enna München MC Ennalyt 90mm f/2.5 slide projector lens
This time I pushed not just the dehaze slider, but also the clarity, vibrance and saturation sliders a long way to the right for a much bolder look.
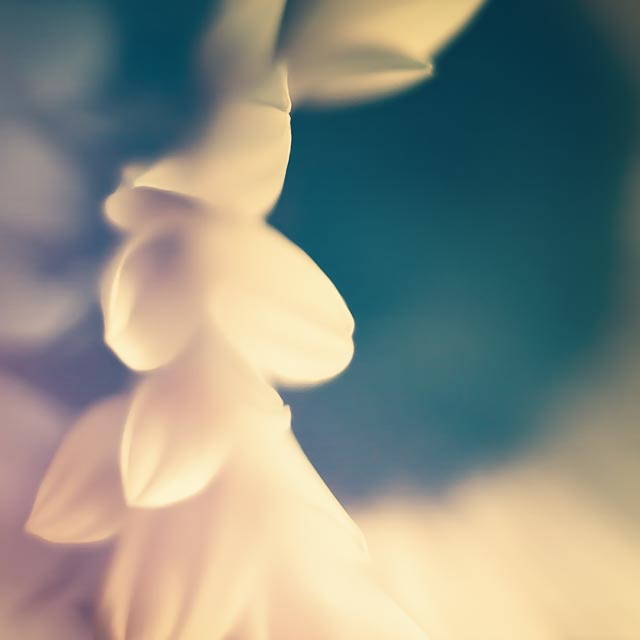
Lens: Enna München MC Ennalyt 90mm f/2.5 slide projector lens
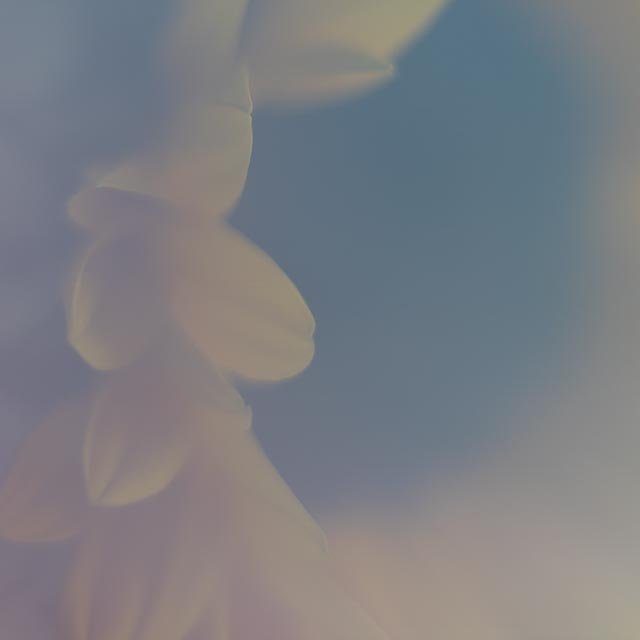
I wanted to both of these shots a much softer look, so I only pushed the dehaze slider to around +20 and the set the saturation slider to around -40.


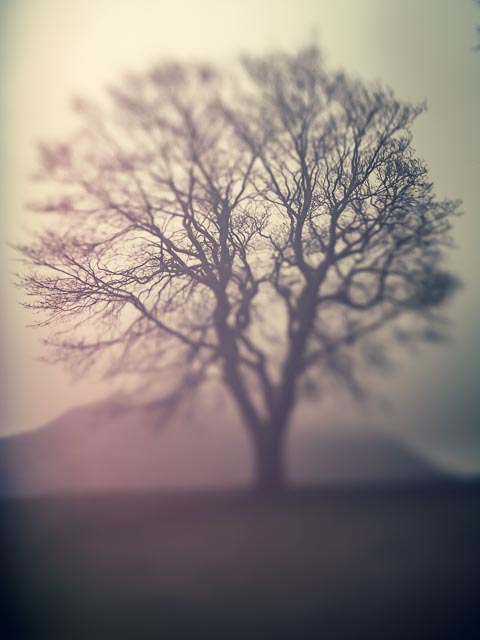
Lens: Enna München MC Ennalyt 90mm f/2.5 slide projector lens
The branches in this image show a surprisingly sharp slice of focus considering the focusing is achieved completely freehand!

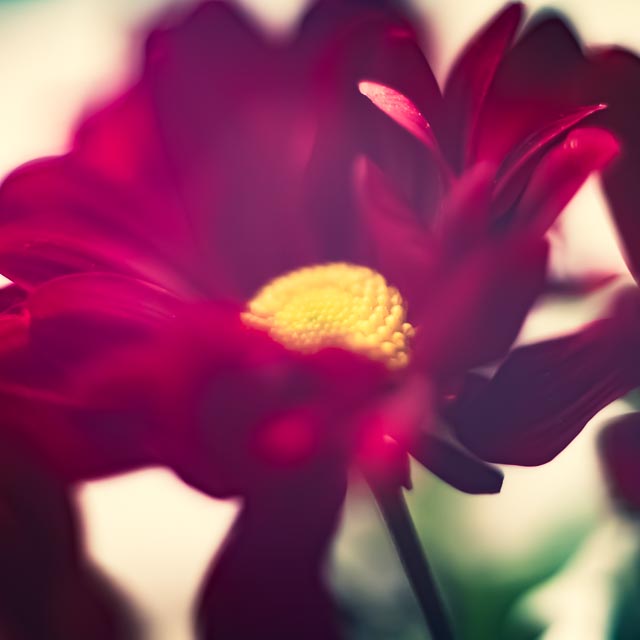
Lens: SMC Pentax-A 50mm f/1.2
For this image I switched to a classic manual focus SLR lens in the form of an SMC Pentax-A 50mm f/1.2. The combined effect of the very shallow of depth-of-field at f/1.2 and a large degree of tilt have given a fairly extreme effect, including some vignetting. I use a fairly high level of dehaze (+40) and the 'Modern 08' colour profile.

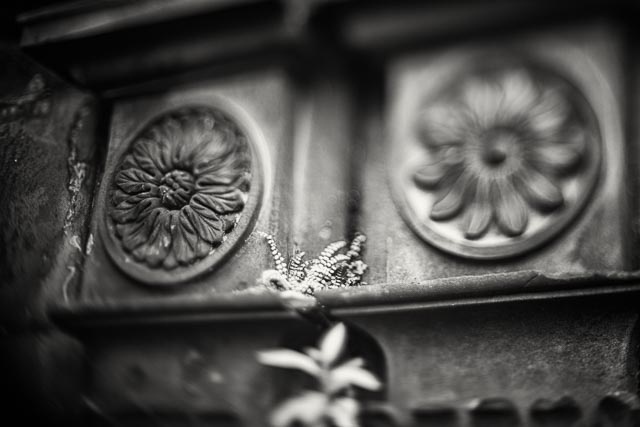
Lens: SMC Pentax-A 50mm f/1.2
This time a conventional SLR manual focus lens was combined with a black and white conversion in Silver Efex Pro. This, plus fairly low degree of tilt has given a fairly modest, but still distinctive, effect.

Lens: Diana+ 75mm Premium Glass Lens
For this one I used a very a different lens: a Lomography Diana+ 75mm Premium Glass Lens designed to be used on a Diana+ camera (a medium format all plastic toy camera with interchangeable lenses). I have found this lens works really well for freelensing! The colour treatment involved moving the dehaze slider quite a long way to the right, but this time combined with the Adobe Lightroom's 'Cross Processing' preset and moving the vibrance slider a long way to the left for a fairly soft look despite the large amount of dehaze.

Lens: Diana+ 75mm Premium Glass Lens
For these 2 images I returned to the simple Diana+ 75mm Premium Glass Lens (fast becoming one of my favourites for freelensing!) but went for a bolder look with medium amounts of dehaze slider, lots of contrast using curves, and the 'Artistic 07' Lightroom colour profile.
When there is a light source in or at the edge of the frame the Diana+ lens often gives highly distinctive flare patterns which you can see in the last image!

